How to Use VoiceRecorder Effects for Podcasts: The Ultimate
Learn how to use VoiceRecorder effects for podcasts to create captivating interviews and boost listener retention. Discover the steps and start today
How to Use VoiceRecorder Effects for Podcasts: The Ultimate Guide
Introduction
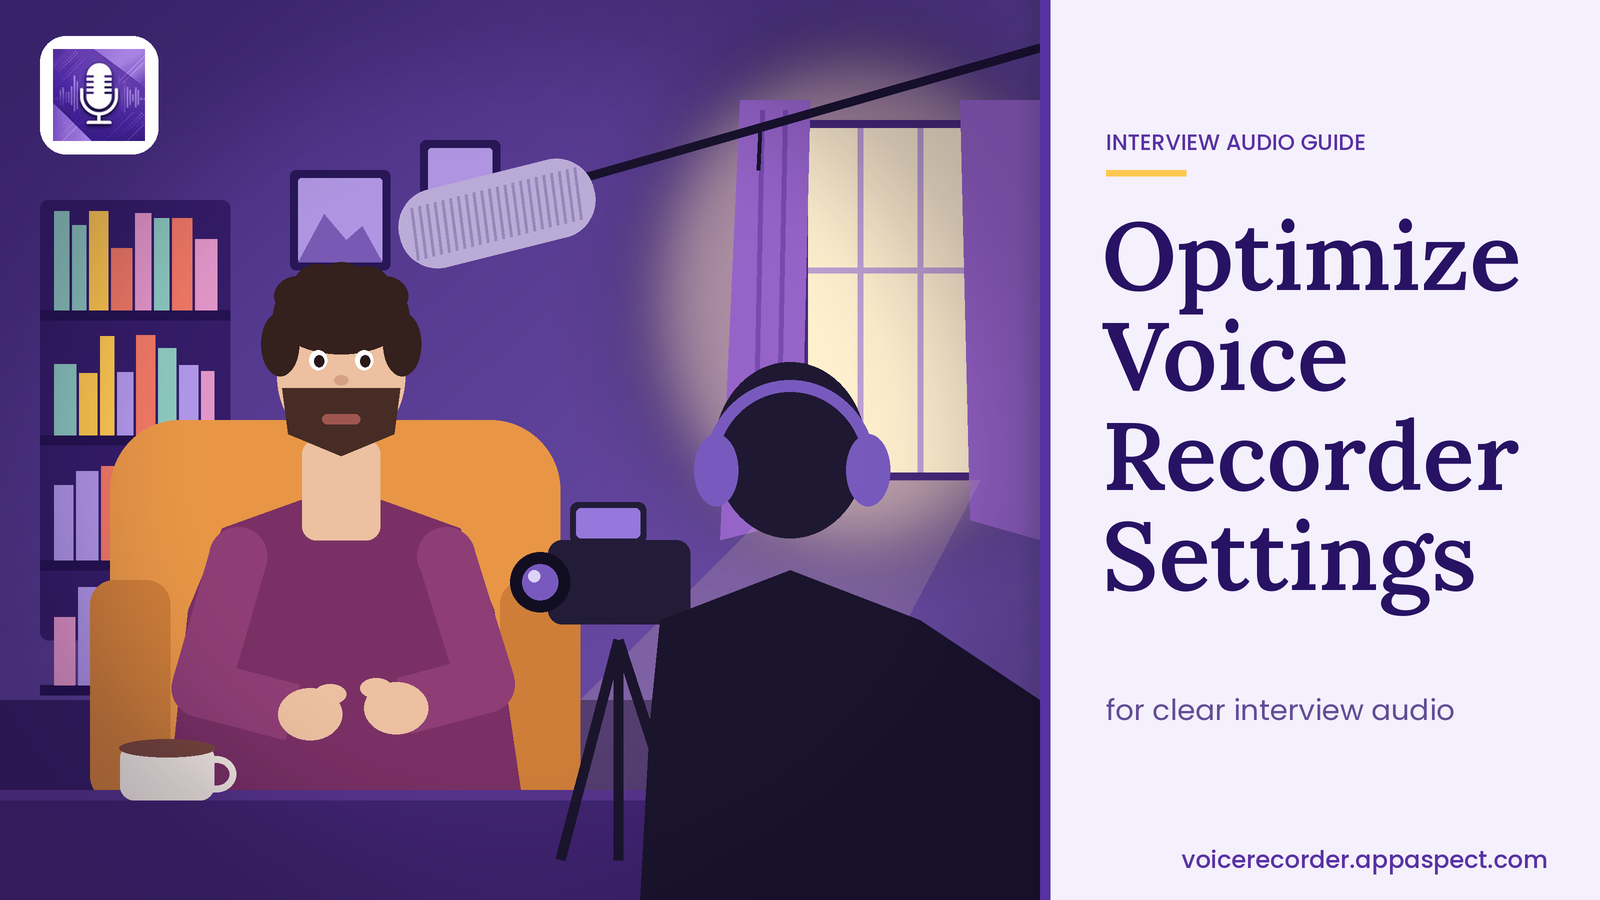
How to use VoiceRecorder effects for podcasts is the question every aspiring podcaster asks when they want studio-grade sound without a complex setup. In this guide we walk you through the exact steps to choose, apply, and export effects that keep interview dialogue crisp, engaging, and ready for distribution. By the end you’ll know which built-in voice effects boost interview dynamics, how to structure segments for maximum listener retention, and the optimal export settings for every major platform.

Choosing the Right Built-in Voice Effects for Interview Dynamics
The first decision in any interview-focused podcast is which voice effects will enhance the conversation rather than mask it. VoiceRecorder offers a curated set of effects that can be toggled on the fly or applied in post-production.
- Compression - balances loud and soft moments so listeners never strain to hear a whisper or are startled by a shout.
- Reverb (light) - adds a subtle sense of space, useful when the recording room feels too dead.
- De-esser - tames harsh “s” sounds that become distracting after minutes of speech.
- Pitch correction (gentle) - smooths out occasional pitch wobble without sounding robotic.
[!TIP] Start with a light compression preset; you can always increase intensity later, but over-compression is hard to reverse.
When you apply these effects, keep the interview’s tone in mind. A casual chat benefits from a warm, slightly reverberant sound, while a hard-hitting news interview calls for tight compression and minimal reverb. Test each effect on a short excerpt of the guest’s voice, listen on headphones, and adjust the sliders until the dialogue feels natural.
Structuring Interview Segments to Keep Listeners Hooked
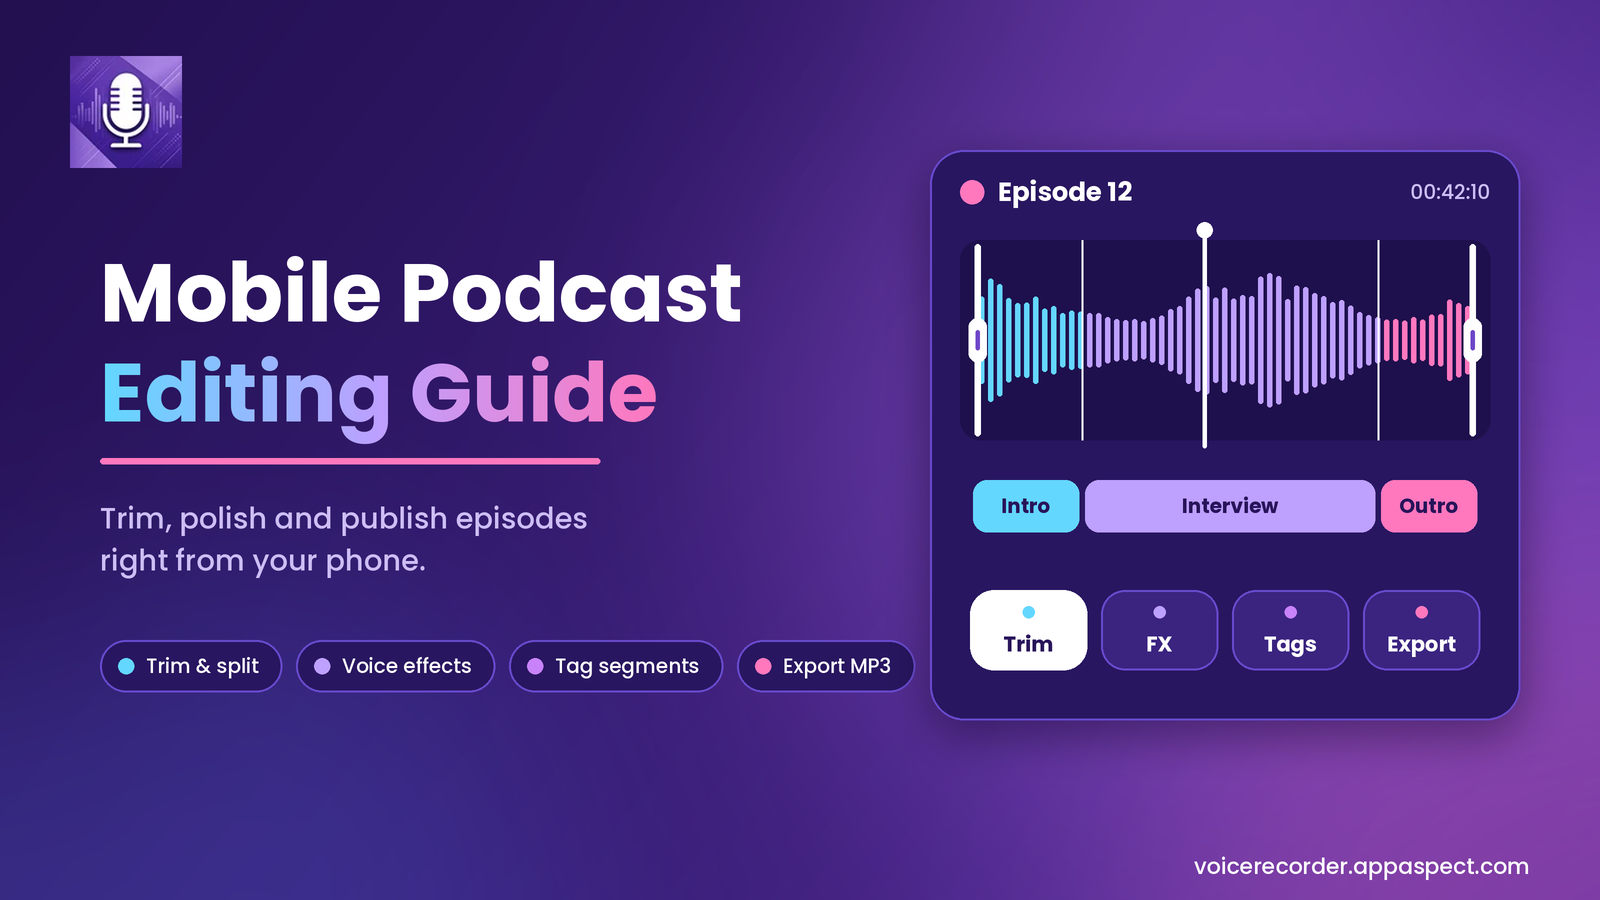
A well-structured interview is as much about pacing as it is about content. VoiceRecorder’s timeline lets you split recordings into segments that can be reordered, trimmed, or enhanced independently.
- Opening hook (30-45 seconds): Use a short teaser clip with a hint of the most compelling answer. Apply a mild boost in loudness to make the hook pop.
- Background context (1-2 minutes): Insert a low-volume ambient track or a brief narration. Keep the EQ flat here to avoid competing with the guest’s voice.
- Core questions (3-5 minutes each): Place a subtle noise-gate before each question so any pre-question chatter is silenced.
- Transition moments (15-30 seconds): Add a short sound-effect or a musical sting; keep it under 5 seconds to maintain flow.
- Closing summary (1 minute): Reinforce the key takeaways with a slight increase in mid-range frequencies to make the voice sound authoritative.
By treating each part as a distinct block, you can apply different effect settings to match the emotional arc of the interview. This modular approach also simplifies the final export, as each segment can be rendered with its own optimal settings before stitching them together.
Using VoiceRecorder’s Noise-Gate and EQ for Clear Dialogue
Even the best microphones pick up room hum, keyboard clicks, or distant traffic. VoiceRecorder’s built-in noise-gate and EQ modules are designed to clean up dialogue without sacrificing natural tone.
- Set the gate threshold just above the ambient floor level. Speak a few seconds of silence, then adjust until the gate closes cleanly during those pauses.
- Apply a high-pass filter at 80 Hz to eliminate low-frequency rumble that often comes from air-conditioning units.
- Boost the 2-4 kHz range slightly to enhance vocal intelligibility, especially for listeners using earbuds.
- Tame the 6-8 kHz band if the recording sounds harsh; a small reduction smooths sibilance.
[!NOTE] A well-tuned noise-gate prevents the “popping” sound that occurs when the gate opens and closes too aggressively.
After the gate and EQ are set, run a quick listen-through on a typical playback device (smartphone, laptop, car stereo). If any background hiss remains, lower the gate threshold incrementally-remember that the goal is clarity, not silence.
Adding Ambient Soundscapes Without Distracting the Guest
Ambient soundscapes can transport listeners into the interview’s setting, but they must sit beneath the voice rather than compete with it. VoiceRecorder lets you layer an ambient track and control its volume and frequency profile.
- Choose a low-frequency ambient (e.g., coffee shop murmur, soft rain) that matches the interview’s theme.
- Use the ducking feature to automatically lower the ambient level whenever the guest speaks. Set the ducking ratio to 4:1 for a smooth fade.
- Apply a gentle low-pass filter at 3 kHz to the ambient track so it remains warm and unobtrusive.
When you add music between interview questions, treat it as a separate audio clip and apply a quick fade-in and fade-out. This prevents abrupt changes that can jar the listener’s attention.
FAQs
What voice effects improve interview podcasts?
Compression, light reverb, de-esser, and gentle pitch correction are the core effects that enhance clarity while preserving the natural character of the conversation.
How do I reduce background noise in interview recordings?
Activate VoiceRecorder’s noise-gate, set a high-pass filter around 80 Hz, and use the built-in EQ to cut frequencies that contain hum or hiss.
Can I add music between interview questions in VoiceRecorder?
Yes. Import a music clip, place it on the timeline between questions, enable ducking so the music lowers when speech resumes, and apply short fades for seamless transitions.
What export settings are best for podcast platforms?
Export as an MP3 file with a bitrate of 128 kbps or higher, sample rate 44.1 kHz, and stereo mode. These settings balance quality and file size for most hosting services.
How to share a VoiceRecorder podcast episode on social media?
After exporting, use VoiceRecorder’s share button to generate a direct link or download the file, then upload it to your preferred social platform with an engaging caption and relevant hashtags.
Key Takeaways
- Choose compression, light reverb, de-esser, and gentle pitch correction for interview clarity.
- Structure episodes into distinct segments and apply effect settings that match each segment’s purpose.
- Use the noise-gate and EQ to eliminate hum, clicks, and unwanted frequencies while keeping the voice natural.
- Layer ambient soundscapes with ducking and low-pass filtering to add atmosphere without distraction.
- Export as 128 kbps MP3 at 44.1 kHz for universal compatibility across podcast directories.
Conclusion
Mastering how to use VoiceRecorder effects for podcasts transforms raw interview recordings into polished episodes that keep listeners engaged from start to finish. By selecting the right built-in effects, structuring segments thoughtfully, and fine-tuning noise-gate and EQ, you can produce professional-grade audio without expensive gear. Apply the export settings outlined above, and your episodes will meet the technical standards of every major platform.
Get Started with VoiceRecorder Today
Ready to bring studio-quality polish to your next interview? VoiceRecorder lets you record, edit, apply voice effects, and share your podcast episode in a single workflow. Start using the app now to experience crystal-clear dialogue and effortless publishing. Download VoiceRecorder and put your podcast on the fast track to growth.
Further Reading
- Podcasting 101 (Wikipedia) - Overview of podcast history and formats.
- Audio Engineering Society Standards - Technical guidelines for broadcast-level audio.
- National Institute of Standards and Technology - Audio Quality - Research on perceptual audio quality metrics.
- Indian Ministry of Information and Broadcasting - Podcast Regulations - Legal framework for Indian podcasters.
- Harvard Library - Oral History Interview Techniques - Best practices for conducting and recording interviews.